1. Introduction
The BTS e-Submit web-application is designed to allow the reporting air carriers to
submit airline data via the secured Internet. This action, which follows the requirement from
the Department of Transportation (DOT), will enhance security of the data submissions, eliminate
air carriers fax and mailing costs, eliminate the need for the DOT to keypunch hardcopy data
submissions, and provide reporting air carriers with immediate confirmation from the DOT that
the submission was either successfully or unsuccessfully transmitted. Any e-Submitter, who has
an account, can perform the data submissions via the e-Submit web-application.

2. Accessing the system with URL
The URL for the BTS E-Submit Web Application is https: ⁄⁄eSubmit.rita.dot.gov.
3. The Warning Page
The Warning Page will be displayed after user entered the link from the web browser.
This page shows a warning message about accessing the U.S. Government information system.
Users have to agree with the terms before seeing the Login Page. (See Figure 1)
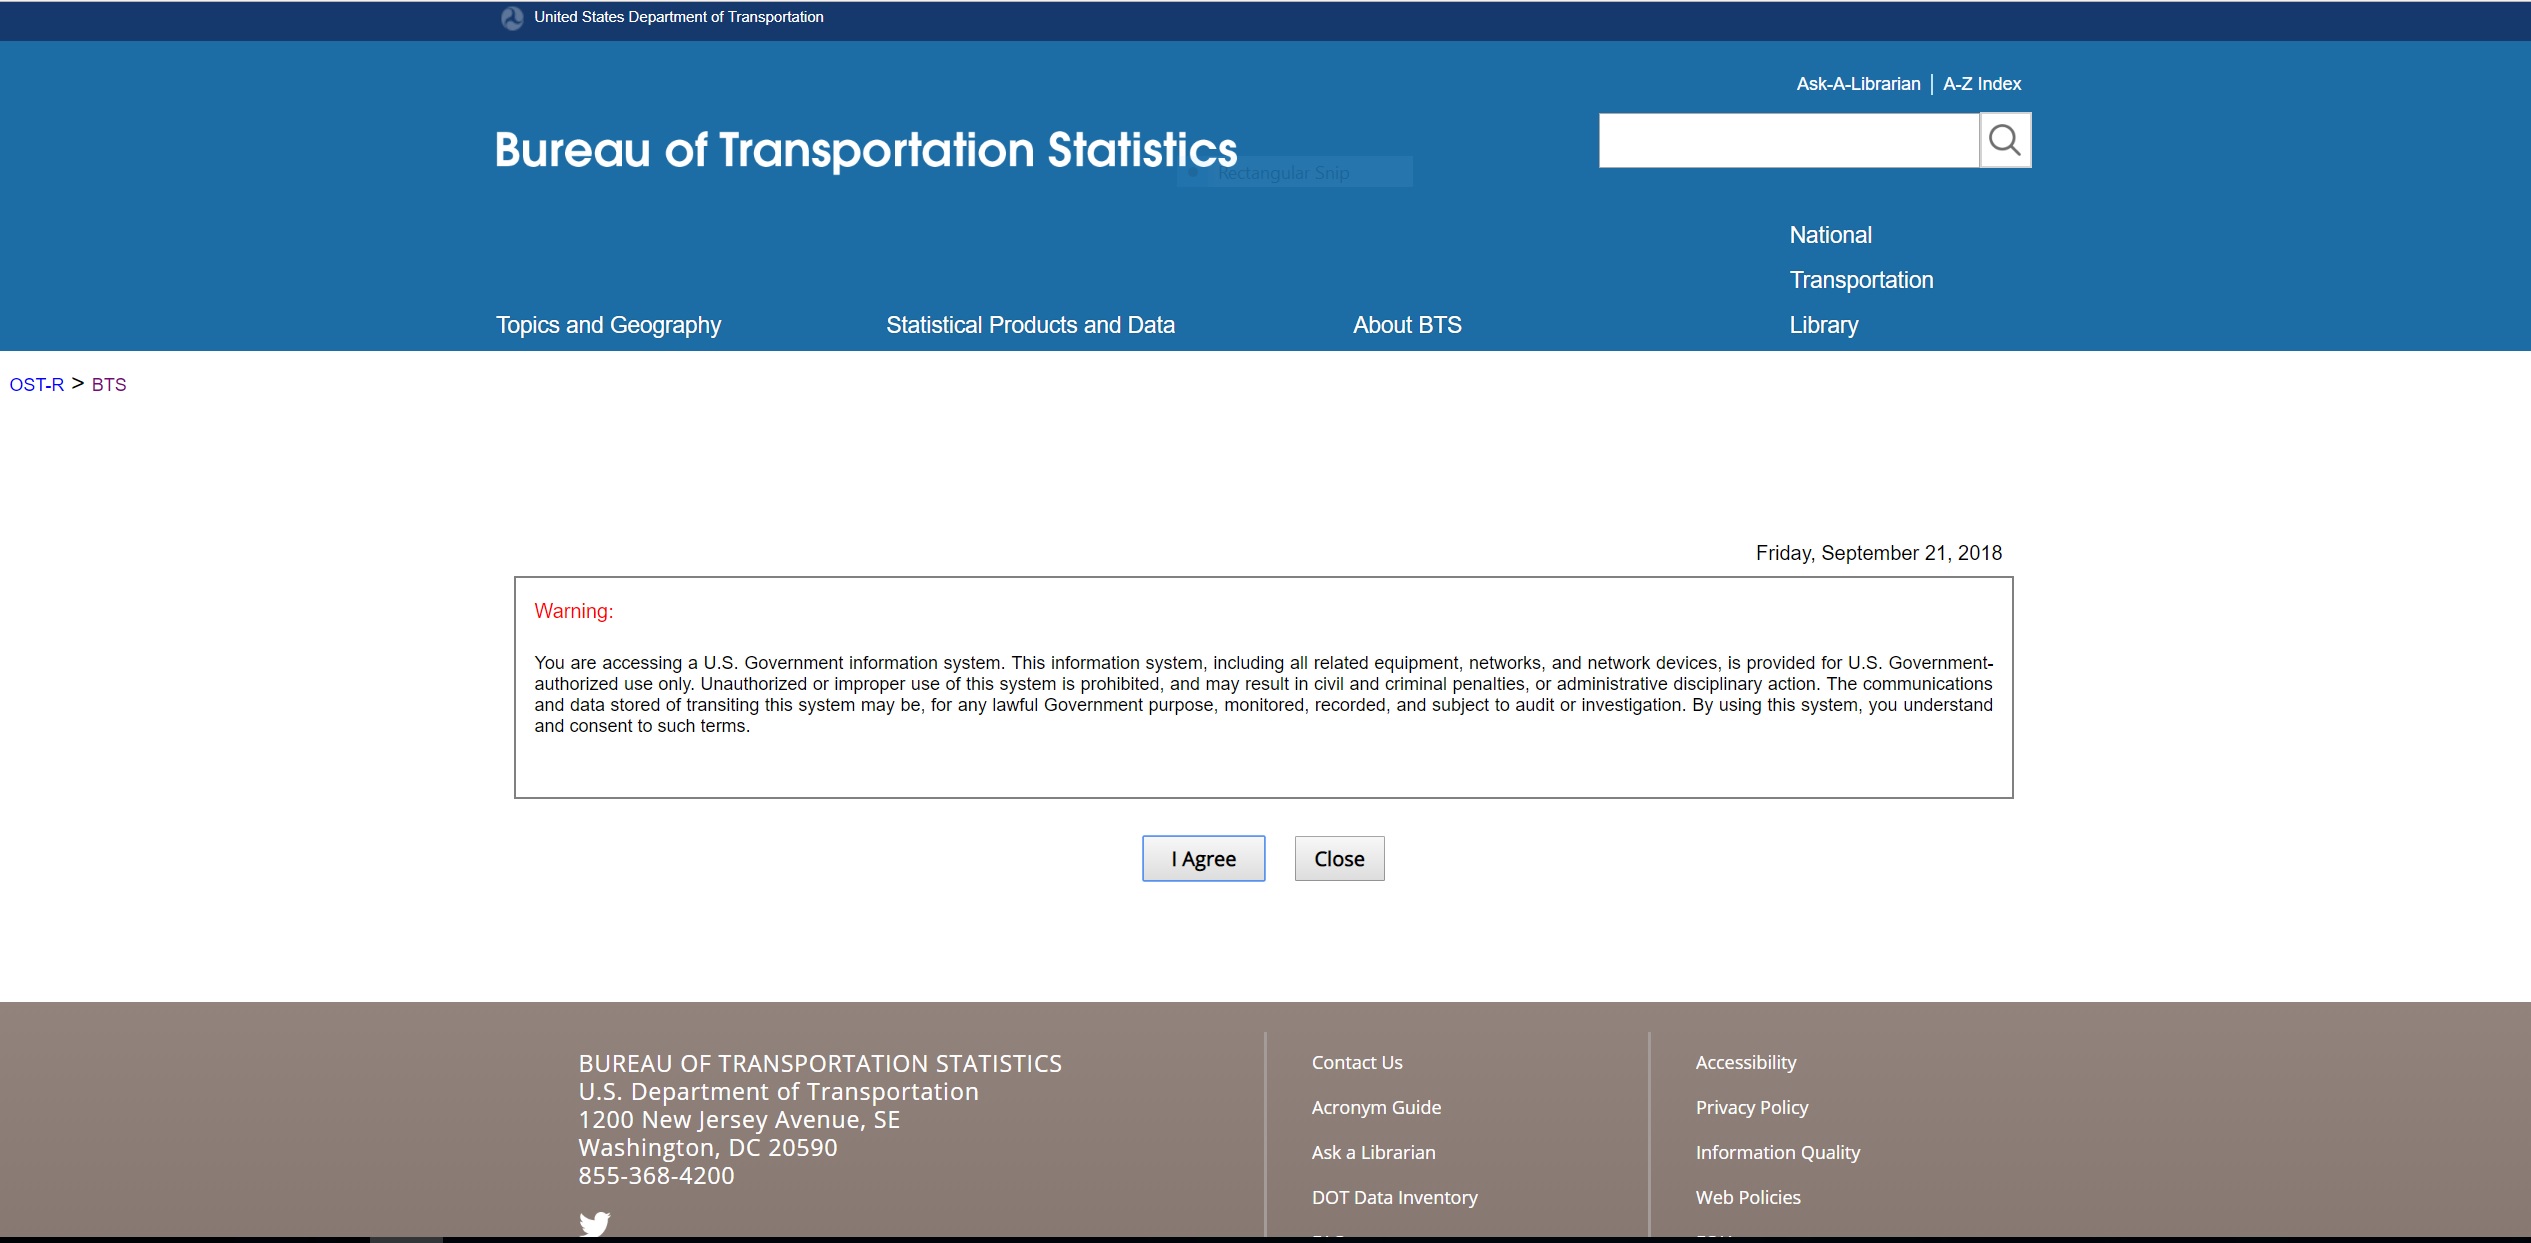
Figure 1: Warning Page
Warning Page Instructions:
a) I Agree button:
When this button is selected, it means that users agree to the
warning about accessing a government information system, the site then redirects to the Login Page.
b) Close button:
When this button is selected, it pops out a message to confirm the page closure,
and then closes the current browser window when users confirm it by selecting "Yes".
4. The Login Page
The Login Page allows users to access the e-Submit application where airline carriers data
will be submitted (See Figure 2).
Links:
a) Contact OAI link: This link allows users to send an email to Office of Airline
Information at OAI.eSubmit.Support@dot.gov.
b) FAQ link: This link goes to the FAQ Page.

Figure 2:: Login Page
Login Page Instructions:
Enter your User Name and Password then select Login.
If you have not setup an account, see the details of Request New User Account instructions.
If you have an existing account and do not remember your Password,
see details of Forgot Password? instructions.
1. Login button:
a) The Login button is used for returning users. Users will need to enter their
User Name and Password on this page. The User Name
should be formatted as "firstname.lastname". The Password is case sensitive
and MUST contain both letters and numbers with 1 special character, 1 capital letter and should contain
12 characters or more.
b) Select the Login button once your information has been entered.
5. Request New User Account: User Information Page
When a user needs to setup a new account, they can make this request
online by selecting the 'Request New User Account' link from the Login Page. The link will navigate
to the Request New User Account: User Information Page (See Figure 3).
NOTE: an account has been setup prior, with the same first and
last name, the new account will populate the User Name
with a
post fixed number to show the number of accounts created. Example: joe.bob1 or joe.bob2.
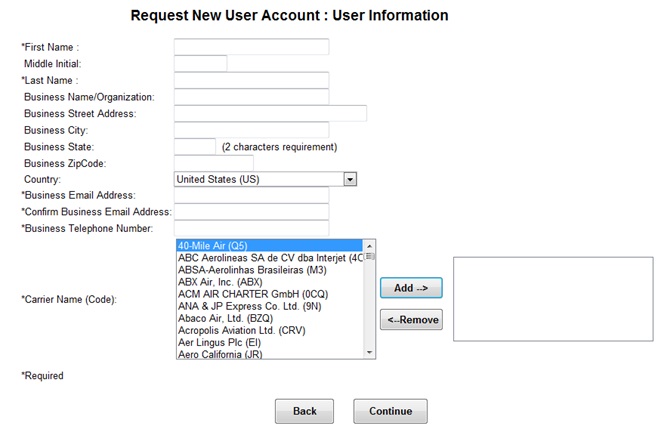
Figure 3: Request New User Account: User Information
Steps for Requesting a New User Account:
1. On the Request New User Account Page, the user will need to enter the required (*)
information and any optional information not listed with an asterisk, into these
required fields:

Select the carriers to file using eSubmit by:
• Add->:
Select the carriers for your monthly, quarterly, annual or semi-annual reports.
Multiple carriers can be selected for a single account depending on the filling requirements. Select the
Add button to move carriers from the left box
into the box located on the right.
• <-Remove:
Users can select carriers in the right box then select the Remove button to delete
them if they were added incorrectly from a previous selection.
2. Continue button: Once all the information has been populated,
this button goes to the second Page -
Request New User Account: Select Form / Report Page (See Figure 4).
3. Back button: Returns to the Login Page.
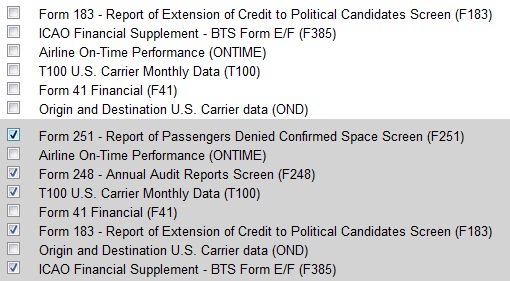
6. Request New User Account: Select Form / Report Page
Once the User Account Information has been completed, the Continue
button will navigate you to the Request New User Account: Select Form / Report Page
(See Figure 4). You must then select the reports you will file in e-Submit.
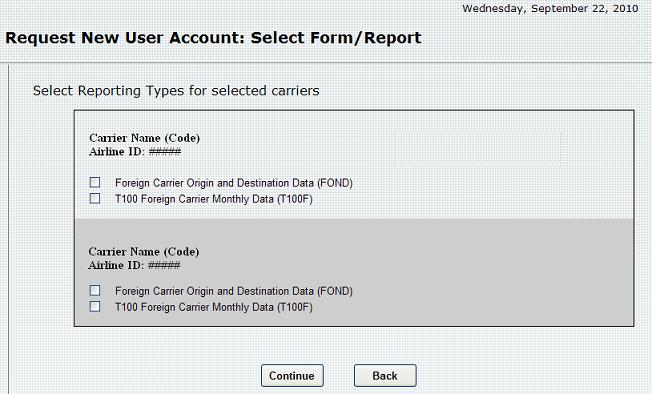
Figure 4: Request New User Account: Select Form/Report
Steps for Request New User Account: Select Form/Report:
1. Select the report(s) from checkbox(es) for each report to file.
Users can select multiple reports for a specific carrier.
NOTE: Only the carrier names chosen from the previous page will be displayed.
2. Continue button: Once all the information has been
selected, select the Continue to go to next page.
3. Back button: Returns to Request New User Account: User Information Page.
7. Request New User Account: Confirmation Page
The Continue button opens:
Request New User Account: Confirmation Page. (See figure 5)
This Page will display the selected carriers and their chosen reports along with your entered User Account information.
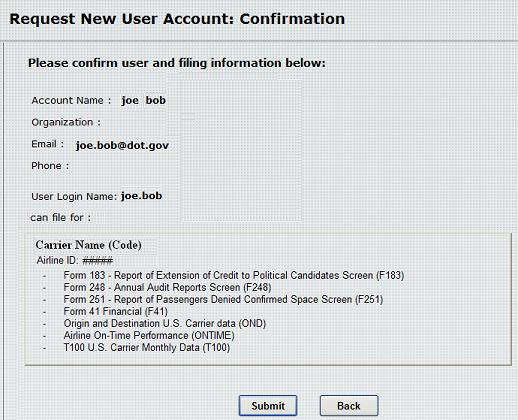
Figure 5: Request New User Account: Confirmation Page
1. Submit button: Review
the information to assure it is correct then select the Submit button.
2. Back button: Returns to Request New User Account: Select Form / Report Page
(See Figure 4).
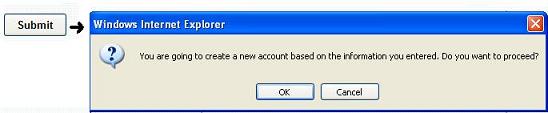
3. After selecting the Submit button, a new account will
be created based on the information you enter. The message: Do you want to Proceed?
appears. Select ’OK’.
4. A second message appears indicating a temporary password
has been sent to your e-mail appears.
Select ’OK’.
You will use this temporary password to log into e-Submit. Select ’OK’.

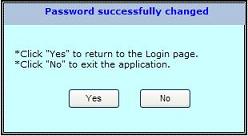
5. A new message ’Password successfully changed’
window appears.
Here you can select ’Yes’ to return to
the Login Page or select ’No’ to exit the application.
8. Forget Password?
If you have forgotten your password, use the 'Forgot Password?'
link to answer the username and security question that was setup during the account creation.
In the event the security question cannot be answered, you can contact
OAI.eSubmit.Support@dot.gov for support by e-mailing your full name
and contact information.
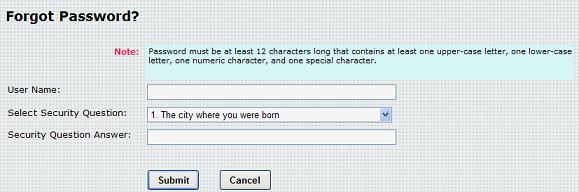
Figure 6: Forgot Password Page
Steps for Forget Password:
2. Submit button: Select the Submit button.
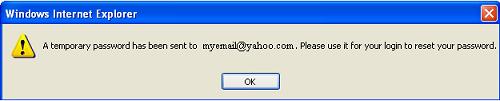
3. A new message appears indicating that a Temporary Password has
been sent to your e-mail. You will use the temporary password to log into e-Submit.
Select ’OK’.
4. Cancel button: The Submit
button should be grey.
Select the Cancel
button to return to the Login Page.

5. Retrieve the Temporary Password from your email confirmation as noted above.

6. Log in with your User Name and Temporary Password.
The Manage Profile Page opens.
Here you will CHANGE your Temporary Password with a new one.
You will also be given the option to update and/or change any
additional information. BY DEFAULT, the page populates your current settings.
7. Save button: After updating and confirming your new Password,
select the Save button.
Note: If you do not select the Save during this step,
your information will not get saved.
8. Back button: Returns to the Welcome Page.
9. Next button: If there are no additional changes or revisions,
select the Next button.

Figure 7: Manage
Profile Page
The Update: Select Reporting Form(s) Page opens. See (figure 8).
Here you can revise your carriers reporting form submission. By default, the page populates
your current settings.
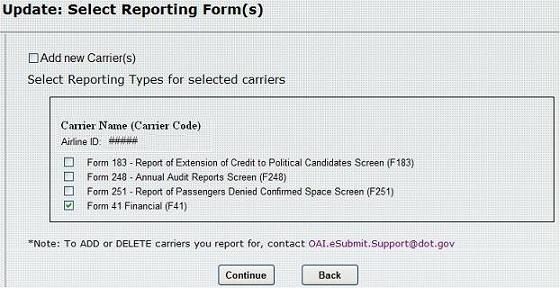
Figure 8: Update: Select Reporting Form(s) Page
10. Continue button: If there are no additional
changes or revisions, select Continue.
11. Back button: Returns to the Manage Profile Page.
This Page will display the changes entered for User Account information.
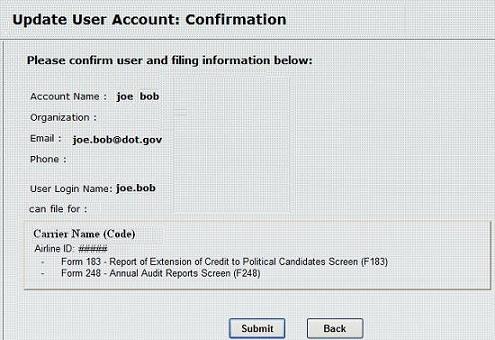
Figure 9: Update User Account: Confirmation Page
12. Submit button: Review the information to assure it is
correct then select the Submit button.
13. Back button: Returns to the Update: Select Reporting Form(s)
Page (Figure 8).
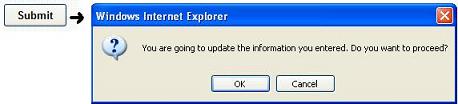
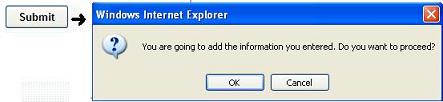
14. After selecting the Submit button, the message:
’You are going to update the information you entered.
Do you want to proceed?’ appears. Select ’OK’.
A ’User Account Update’ confirmation will be emailed indicating the changes.
15. After selecting ’OK’,
the screen opens to the Welcome Page for you to Submit Data
or Manage Profile. (See figure 10)
9. Welcome Page - Submit Data
If you want to submit reported data, you will need to enter your User Name
and Password from the Login Page.
The screen opens to the Welcome Page for you to Submit Data or
Manage Profile (Figure 10).
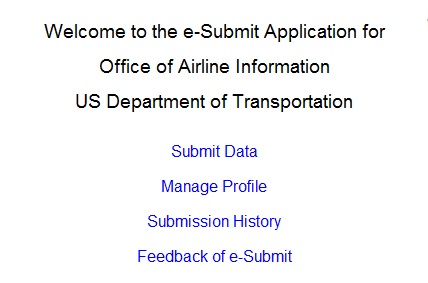
Figure 10: Welcome Page
Steps for Submitting Data:
1. From the Welcome Page, select Submit Data.
The screen opens to the Select Report Page
for you to select the report(s) to submit.
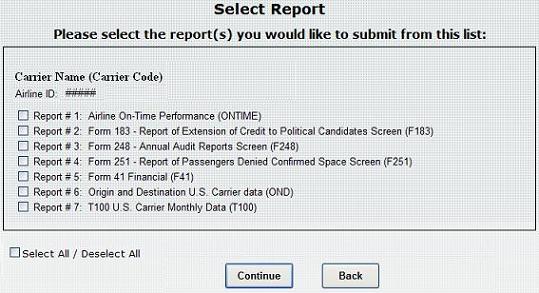
Figure 11: Select Report Page
2. Continue button: You can select all
or some reports to file then select the Continue button.
3. Back button: Returns to the Welcome Page (Figure 10).
Note:Only the carriers and reports you are designated to file should
be listed on this Page.
4. While in the Select Report Page, select one or
more reports by checking the box(es).
a) Selecting the
Form 41 Financial Report sends you to the Select Form41 Financial Report Page
where you will
select a detailed list of Financial Forms. (See figure 12)
b) All Reports, showing in the Select
Reports Page, will send you directly to the Submit Data Page.
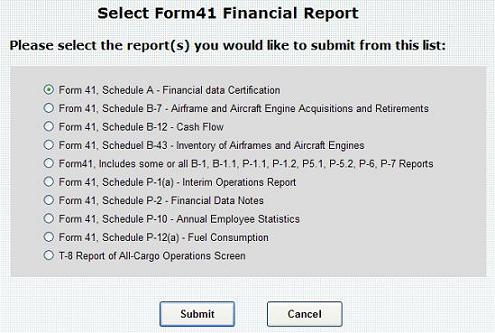
Figure 12: Select Form 41 Report Page
5. While in the Submit Data Page, select a Submission Period: (month-yyyy)
then review the notes in the page to assure you are submitting the correct report. (See Figure 13)
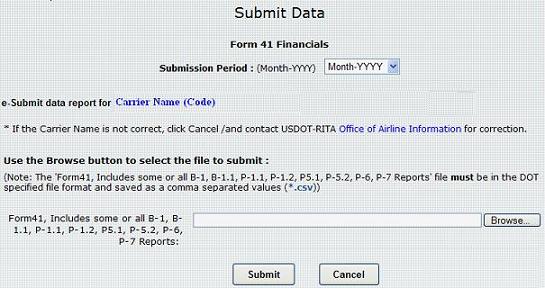
Figure 13: Submit Data Page
6. Browse... button: Use the Browse
button to select and attach a file.
Note: The report MUST be attached as the listed
extension noted (.csv, .pdf)
The Browse button will not allow submission of fixed-format files such as (.dot, .fond, etc.)
7. Submit button: Select the Submit button
from the Submit Data Page. A confirmation Page opens indicating that the data was successfully submitted
for the submission period. You will be emailed indicating that the file
was submitted and saved under the naming convention in e-Submit. (Figure 14).
8. Cancel button: Returns to the Select Report Page.

Figure 14: e-mail Comfirmation Message
9. Submit button: Sends you back to the Submit Data Page for the same
carrier listed at the top.
10. Submit button: You can Submit Data for the Next Report / Carrier
if multiple selections were made.

Otherwise Go Back to Welcome Page will be displayed.
11. Continue button: Selecting the Continue button
will take you to the Welcome Page.
10. Welcome Page - Manage Profile
The 'Manage Profile' link allows the user to update User Profile information such as
password, email, security question, address, etc.
1. From the Welcome Page, select the 'Manage Profile' link. The screen opens
to the Manage Profile Page for you to add and/or modify your profile data.
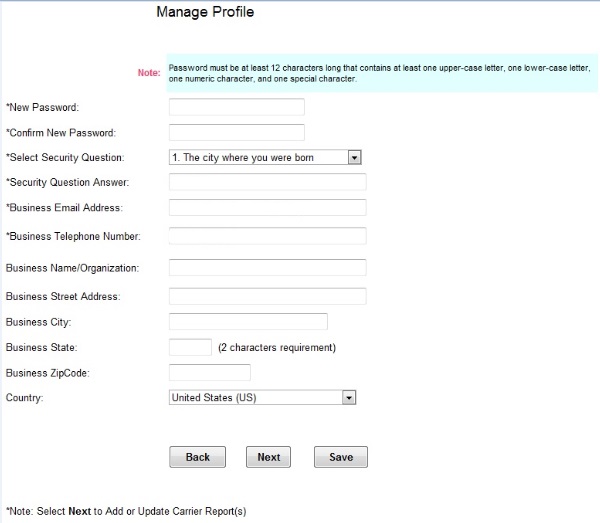
Figure 15: Manage Profile Page
2. Back button: Returns to the Welcome Page (Figure 10).
3. Next button: If you have finished saving or no changes were made,
select the Next button to continue.
4. Save button: If you made revisions, select the Save button to save your data.
Note:
If you forget to save your data before selecting the Next button,
your data will not be saved. You will need to go back and redo.
While in the Select Report Page, select one or more carrier(s) to report by checking the boxes.
You will also be given the option to add or update your carriers profile. (See Figure 16)
5. Continue button: You can select all or some reports to save to your
User Profile then select Continue (See Figure 16).
Note: Leaving the box unchecked will remove reports from the carriers profile and leaving
ALL boxes unchecked removes the carrier from your profile.
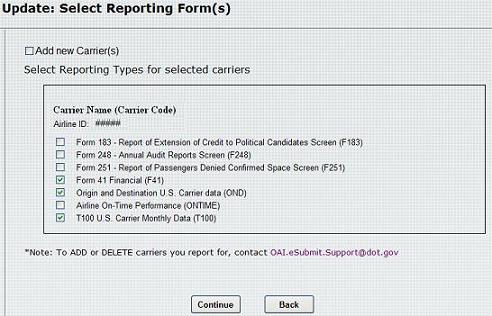
Figure 16: Update: Select Reporting Form(s) Page
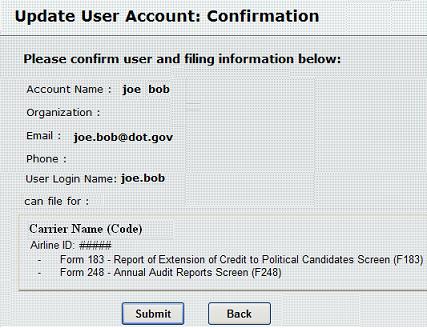
Figure 17: Update User Account Confirmation Page
6. After selecting the Submit button, the message below appears.
Select ’OK’. The Page opens to the Welcome Page and a ’User Account Update’
confirmation is emailed to you indicating the changes.
7. Select ’OK’ the Page opens to the Welcome Page.
11. Welcome Page – Submission History
From the Welcome Page, select the 'Submission History' link. The link allows the user to check
on the submission history under the users profile. All historical data is recorded and accessible using this link.
1. The screen opens to the Submission History Page (Figure 18). Here you can check on the submission,
date, time and file name of your submitted reports. If you’d like a copy of the report shown in your history, you can forward an
email to the data analyst for the supported data or email our support team at OAI.eSubmit.Support@dot.gov.
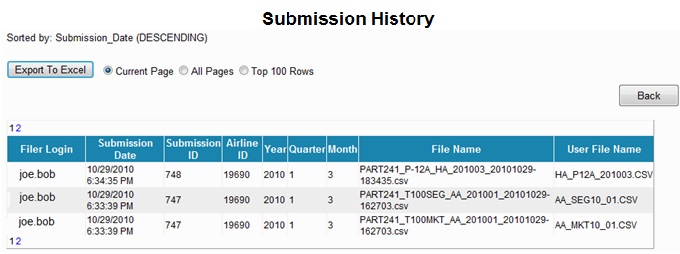
Figure 18: Submission History Page
12. Welcome Page – Feedback of e-Submit
Under construction: We are currently working on this page and will let you know
when it’s available.
13. Welcome Page - Remove Carrier
Steps for Removing a Carrier:
1. Go to the 'Manage Profile' link in the Welcome window then navigate to
Update: Select Reporting Form(s) Page (See figure 8).
2. Select carrier reports  to keep data
and deselect
to keep data
and deselect  to remove or delete carrier or
carrier report(s) from your profile.
to remove or delete carrier or
carrier report(s) from your profile.
3. Continue button: Selecting the Continue button sends
you to Update User Account: Confirmation Page. This will display only the selected forms and/or
carriers selected from the Update: Select Reporting Form(s) Page.
4. After selecting the Submit button, a message confirms to proceed.
Select ’OK’. The Page opens to the Welcome Page and a
User Account Update confirmation is emailed to you indicating the changes.
Steps for Adding a New Carrier:
1. Go to the 'Manage Profile' link in the Welcome window.
2. Select the Nextbutton to pass editing your Business Contact Information.
3. To add a new carrier, select the  check box from the Update: Select Reporting Form(s) Page
and the window will automatically direct to Update: Add New Carrier(s) Page.
check box from the Update: Select Reporting Form(s) Page
and the window will automatically direct to Update: Add New Carrier(s) Page.
4. You will be given the option to add a carrier by highlighting
the carrier Name then selecting the Add->: button (See figure 19).
5. <-Remove: Users can select the carriers in the right box,
and press Remove button to delete them if they were added incorrectly from a previous selection.
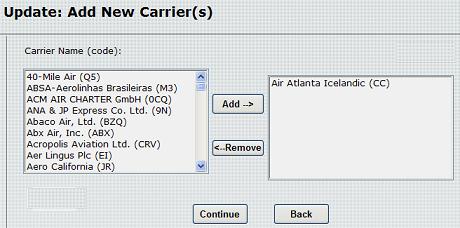
Figure 19: Update: Add New Carrier
6. Continue button: You can select all or some reports to file then select
Continue.
The Continue button takes
you to Update User Account: Confirmation Page.
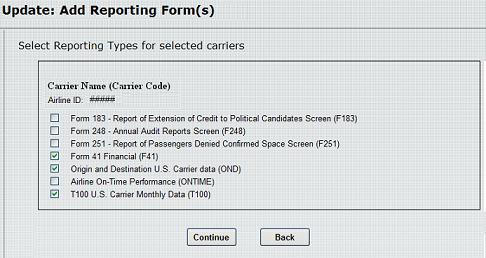
Figure 20: Update: Add Reporting Forms Page
7. Continue button: You can select all or some reports to file then
select Continue. The Continue button takes you to
Add New Carrier Report(s): Confirmation Page. (See Figure 19)

8. After selecting the Submit button, a message appears. Select ’OK’.
A ’User Account Update’ confirmation is emailed indicating the changes.
9. Back button: Returns to the Update: Add Reporting Form(s) Page.
Appendix: Format Descriptions used in Guide
| Bold word(s) |
A command button |
Save button |
| Italic word(s) |
A page name |
Login Page |
| Bold and Italic word(s) |
A text field name for entering data |
User Name |
| UPPERCASE words |
Emphasis |
User MUST enter the required information |
Copyright © 2014.
